 loading...
 Back
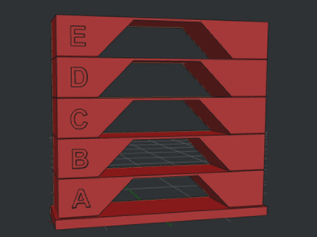
BackThe goal of this test is to use a temperature tower model with sections labeled for printing at different temperatures to determine the best print temperature for the filament used. Each filament comes with a filament manufacturer recommended range, but the best temperature to print at varies from printer to printer. A quick test print with different temperatures will show the differences and help select the best one. For this test, you will download and print the sliced Gcode file generated for you. Use the guide to help select the best printing temperature.
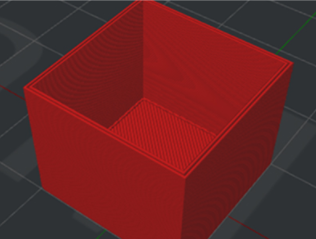
The goal of this test is to use a 2 shell hollow cube for measuring the dimensional accuracy. Just because the extrusion width is set in the slicing profile does not always mean the actual printed width matches exactly. For this test, you will download and print the sliced Gcode file generated for you. Use a caliper to measure the widths and calculate the best flowrate.
The goal of this test is to use a pressure advance tower model with sections labeled for printing with different pressure advance values to determine the best value to use for your slicing profile. Filaments have varying elasticity that affects the extrusion behavior. The purpose of pressure advance is to compensate for the under extrusion at start of extrusion and over extrusion at end of extrusion, and this pressure advance value should improve the extrusion result, especially at the start and end points. For Marlin users, Linear Advance share a similar concept, so this test should still work. A quick test print with different pressure advance values will show the differences and help select the best one. For this test, you will download and print the sliced Gcode file generated for you. Use the guide to help select the best value.
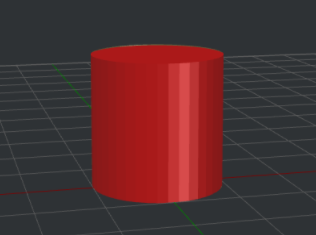
The goal of this test is to use a small cylinder to check extrusion consistency. Consider this a test print to validate the temperature and flowrate settings. For this test, you will download and print the sliced Gcode file generated for you. Use the guided questions to identify print issues and find solutions.
The goal of this test is to use a small cube with logo to check ghosting or ringing. Because ghosting or ringing is more apparent on sharp corners and small details, the sides with logo will be observed. For this test, you will download and print the sliced Gcode file generated for you. Use the guided questions to identify ghosting and learn about the possible solutions for it.

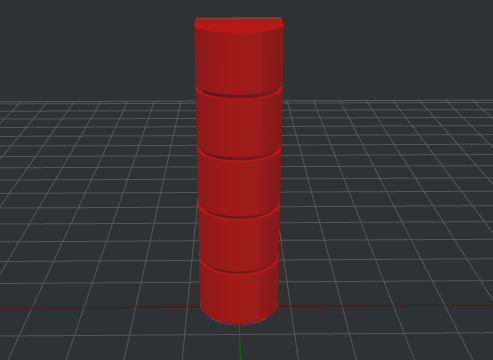
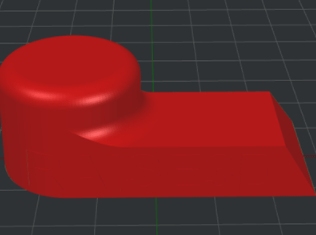
The goal of this test is to use a block peg to check start and end point quality. Whether the start and end points are positioned at a round surface or a sharp corner, this model lets you observe those results. For this test, you will download and print the sliced Gcode file generated for you. Use the guided questions to analyze start and end point quality and find solutions for improvement.
The goal of this test is to use a block peg that focuses on the top layers to check top surface quality. For this test, you will download and print the sliced Gcode file generated for you. Use the guided questions to identify any top surface issues and find solutions for it.
